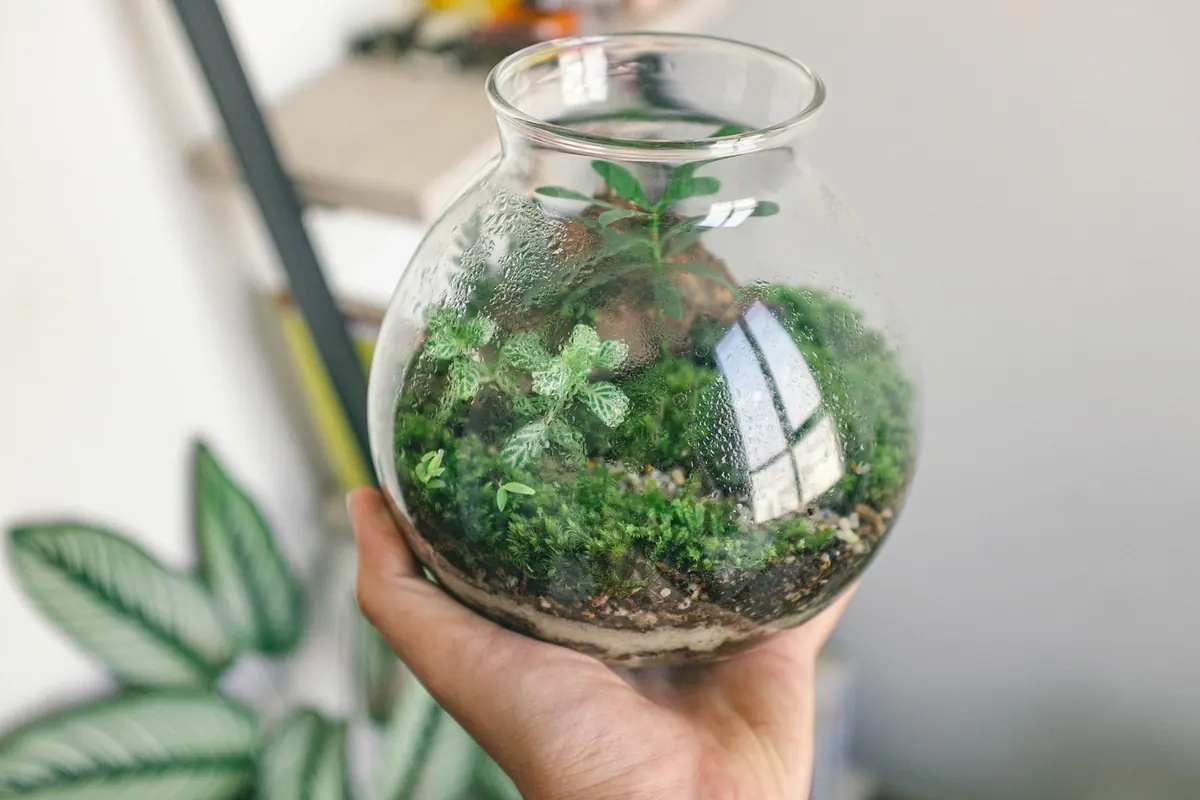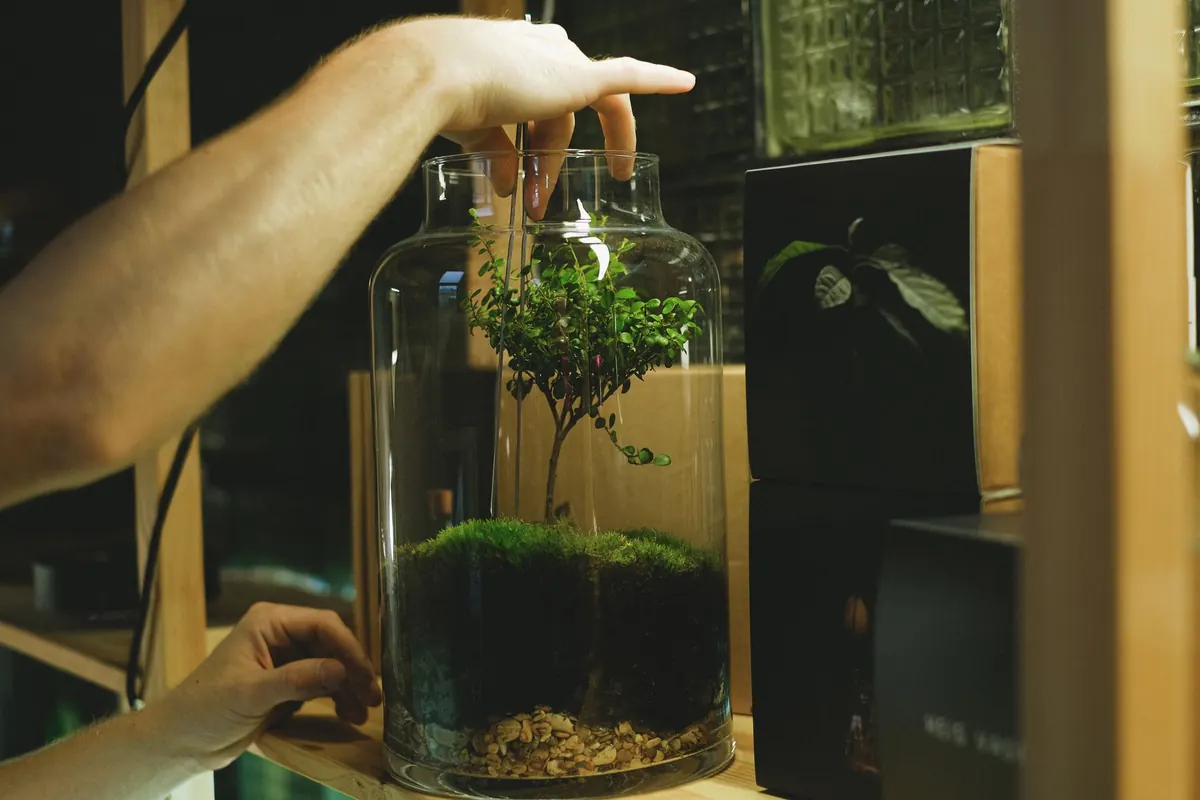
A jam jar makes a genuinely good terrarium. Glass lets in light, the lid traps moisture, and moss — which has no proper roots and no interest in rich soil — needs very little else. Get the layers right and you end up with a self-contained green world that sits on a shelf for years with only the occasional glance. Get them wrong and you have a fogged-up jar of mould inside a fortnight. The difference comes down to three things: drainage, the growing medium, and how much water you seal in. Here is the whole method, from empty jar to finished terrarium.
What You'll Need
- A clean glass jar with a lid — 500ml to 1 litre is a comfortable size; jam, pickle and Kilner jars all work well
- Small pebbles or aquarium gravel, roughly 5–10mm across
- A small handful of activated charcoal (optional, but it helps keep the water layer fresh)
- Dried sphagnum moss or a disc of coir liner, to act as a barrier
- Peat-free compost, coir and horticultural grit for the growing layer
- Moss — see below for which kinds work
- Long tweezers, a spoon and a spray bottle filled with rainwater
- Springtails, if you can get hold of some — tiny, harmless and excellent at eating mould
Preparing the Jar and Building the Layers
Wash the jar in hot soapy water and rinse it thoroughly. Detergent residue is bad news for moss, so give it an extra rinse and let it dry. A wide-mouthed jar makes planting far easier, but if yours is narrow, a pair of long tweezers will get you most of the way.
Then build upwards, one layer at a time:
- Drainage. Add 2–3cm of gravel. This is where surplus water collects, safely away from the moss.
- Charcoal. Scatter a thin layer over the gravel. Not essential, but it slows the water turning stale.
- Barrier. Press a sheet of dried sphagnum or coir over the top. This stops compost washing down into the gravel and turning the whole jar into mud.
- Growing medium. Add 3–5cm of a mix of roughly two parts peat-free compost to one part grit. Moss wants a poor, free-draining, slightly acidic base. Skip fertiliser entirely — it feeds algae and mould, not moss.
Firm each layer gently with the back of a spoon. You are after a level surface with a little headroom left for the moss and the air above it.
Choosing Moss That Will Actually Thrive
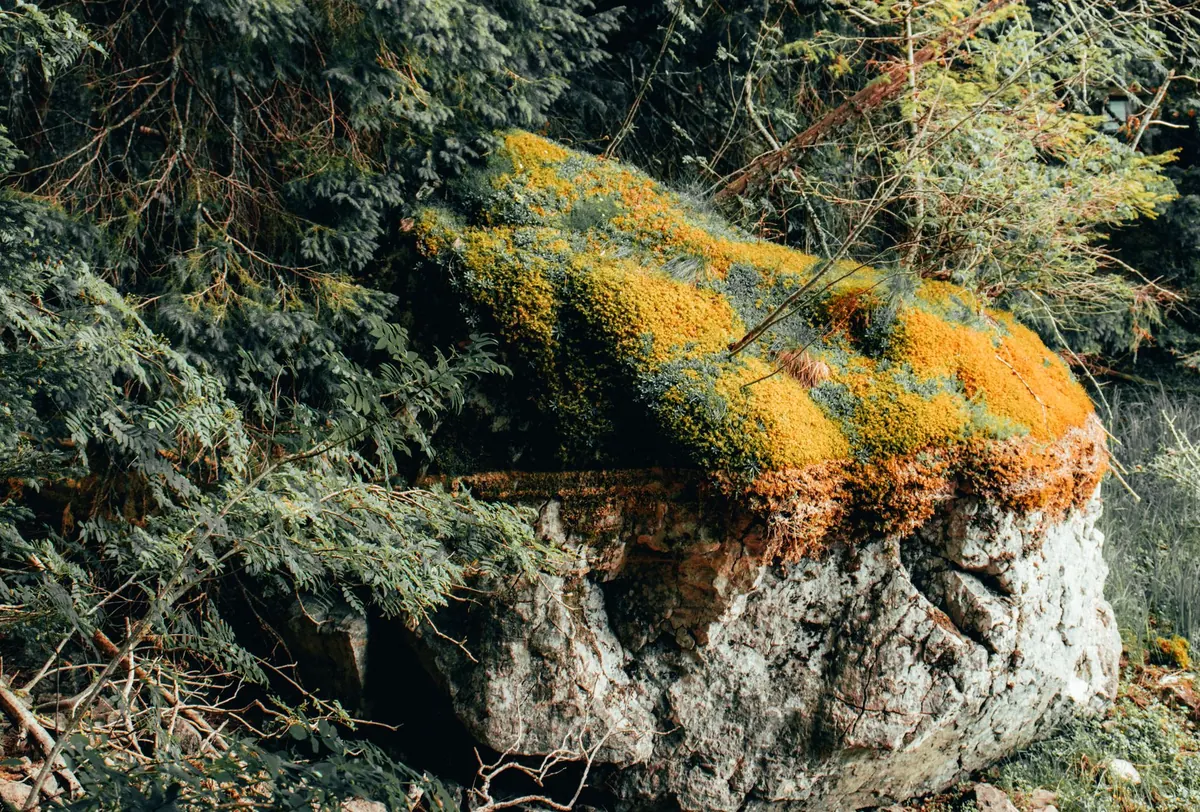
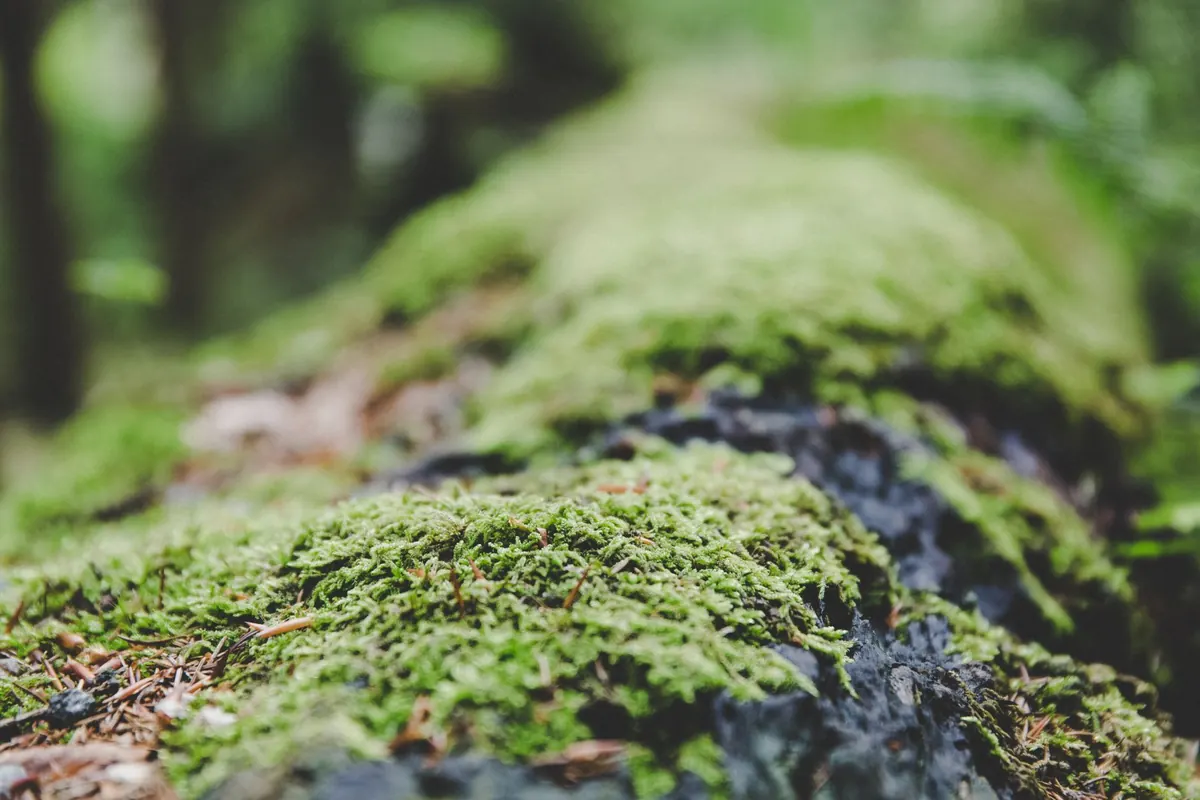
Not every moss suits a sealed jar. The tight, cushiony species that carpet a lawn or the base of a shaded wall cope best with still, humid air. Good candidates from a British garden include common feather moss (Hypnum cupressiforme), springy turf moss (Rhytidiadelphus squarrosus), the neat domes of cushion moss, and haircap moss with its starry rosettes. Moss that peels away in flat mats is ideal, because it presses straight onto the substrate.
Sourcing it costs nothing if you have a lawn, a shady patio or a damp wall. Look in the gaps between paving slabs, along the north side of a fence, at the foot of a water butt. Lift small patches a few centimetres across by sliding a knife or an old spoon underneath, taking the thin layer of soil with it. Press the patch back down where you found it and it will recover. Never strip a whole colony, keep off nature reserves and protected sites where mosses and lichens are part of what is being conserved, and ask permission on private land. If your own garden is bare of it, a friend's lawn or a specialist supplier both work.
Aim for two or three different species rather than one. They will not all settle in equally, and a mix looks more like something you found than something you assembled.
Planting Up and Sealing
Tease each patch apart gently, shaking off loose soil and picking out grass roots, weed seedlings and dead brown material. Those are the things that rot and bring mould. Press each piece firmly onto the compost — contact matters more than arrangement, because moss draws water through its surface rather than from roots. Fill the gaps between patches with smaller fragments; they will knit together over the coming months.
When the surface is covered, mist it until the compost is damp like a wrung-out cloth. It should never be sodden. Wipe the inside of the glass clean with a cloth, because every smear and fingerprint will still be there in a year's time. Close the lid.
Humidity and Light: Reading the Jar
From this point the jar runs its own water cycle: moisture evaporates from the compost, condenses on the glass, and drips back down. That is why a sealed terrarium needs watering so rarely.
Condensation is your gauge. A light misting on the glass in the morning that clears by the afternoon is exactly right. Beads running down the sides, water pooling in the gravel, or a permanent fog mean it is too wet — take the lid off for a day, then replace it. If the glass has been completely clear for a week and the moss looks brittle, it is too dry: mist lightly and reseal.
Light should be bright but indirect. A north or east-facing windowsill is ideal, and a spot a metre back from a south-facing window works too. Direct summer sun through glass turns the jar into a small oven and can scorch the moss in an afternoon.
Troubleshooting the First Month
- White fluffy mould on the surface or on dead material: usually too wet or too much decaying matter. Lift it out with tweezers, remove any brown debris, and leave the lid off for a day.
- Green slime or algae on the glass: too wet and too bright. Move the jar out of direct light and let it dry back.
- Moss browning at the tips: most often too dry, occasionally too much sun. Check the compost before assuming the worst — moss can green up again after a light misting.
- Black, soggy compost: the barrier has failed or the jar is waterlogged. Open it, stop misting, and let it stabilise.
- Tiny white specks that jump when disturbed: springtails. A bonus, not a pest. They graze on mould and keep the jar cleaner than you could.
Looking After It Long Term
Moss is slow. Expect no dramatic growth, and do not feed it — a terrarium that is working needs almost nothing. Check it once a month: remove any dead material, open the lid for a few hours if condensation is heavy, and top up with a light misting only if the glass stays completely dry. Use rainwater rather than tap water where you can, as hard tap water leaves limescale on the glass and minerals build up in the compost over time.
After two or three years the growing layer may need refreshing, and any moss that has thinned can be replaced with fresh patches. Beyond that, the best thing you can do is leave it alone. The urge to open the lid and fiddle is the single most common reason jam-jar terrariums fail.
Photo: Anna Shvets / Pexels